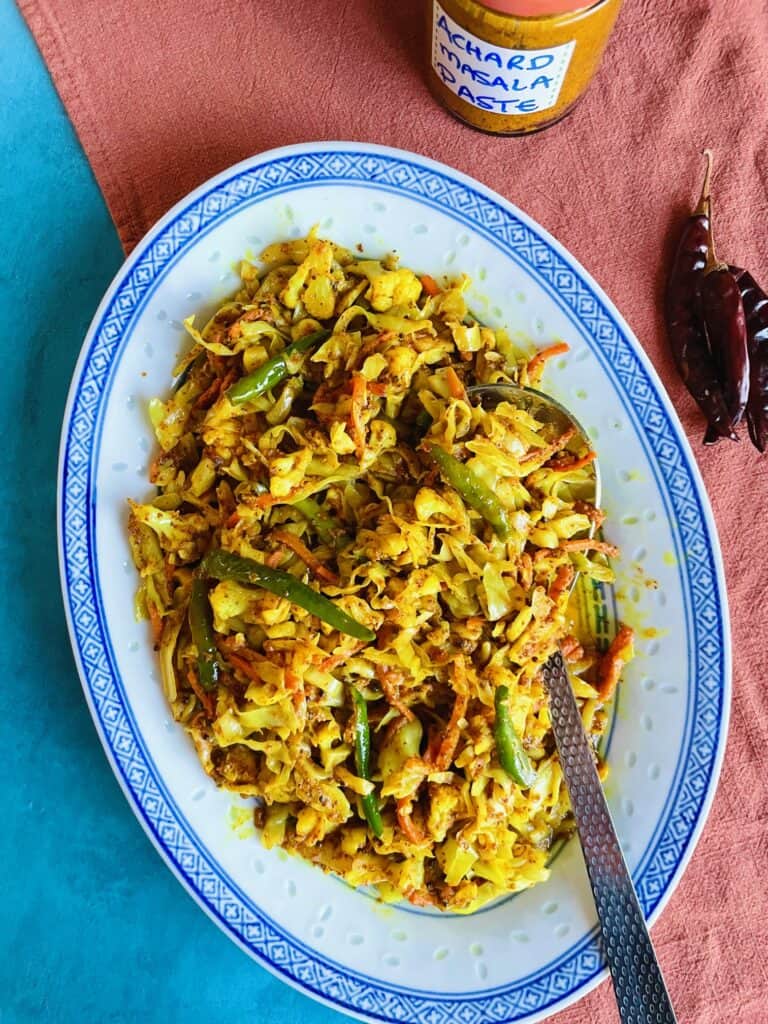
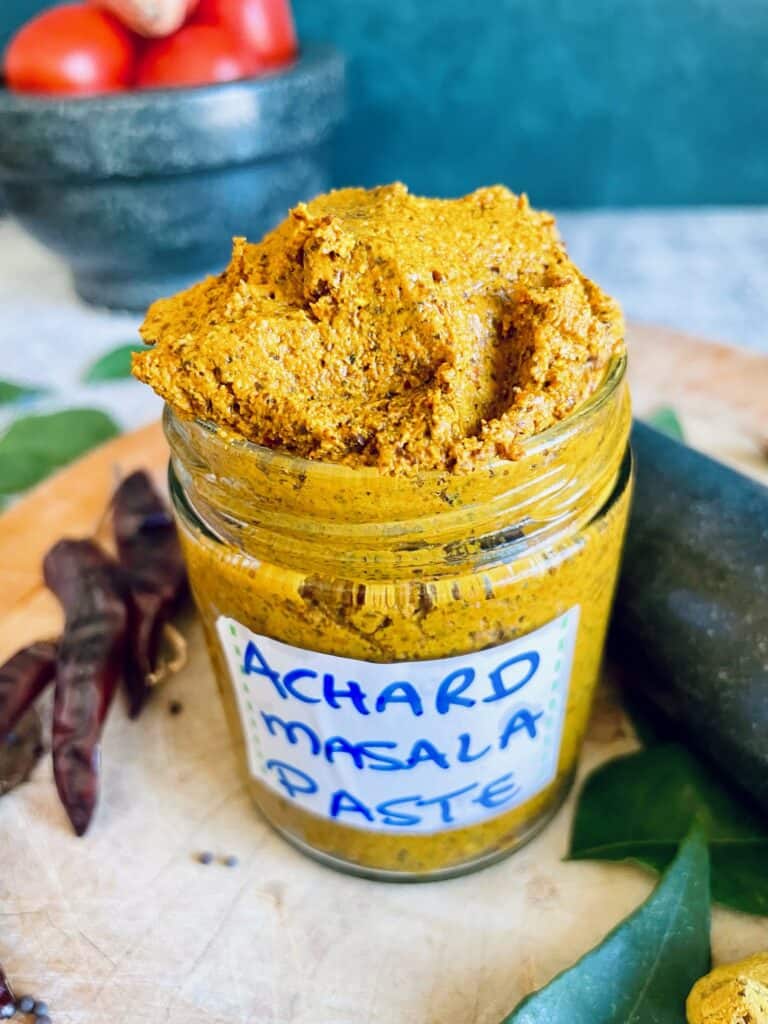
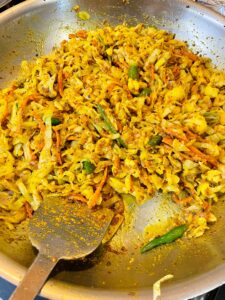
This is the Best Ever Vegetable Achard recipe. It sounds like a grand statement but you will soon find out why. It requires no boiling, no draining, and can be on your table super fast. This recipe calls for freshly ground achard masala paste along with mustard seeds to give it an extra dimension. The paste paired with no boiling result in a very satisfying, slightly crunchy (read not soggy or watery) achard that is much tastier than one made with grocery store-bought achard spice-mix or blanched veggies.
Jump to:
What is vegetable achard?
Mauritian Vegetable Achard is simply known as achard in Mauritius. Other commonly names for it are achard légumes or zasar, pronounced zah-saar. Typically, when we refer to achard, we mean vegetable achard, and usually cabbage. As briefly mentioned in the achard masala paste recipe post, we eat achard more often as a side than a condiment, and with all types of meals, not exclusively Indian.
To this day, a favorite lunch for people of all classes is achard in a toasted French baguette or round pain maison. When Mauritians do use achard as a condiment, it is in the form of green chili achard (achard piments), bilimbi achard and even bitter melon achard (achard margoze). The last two are not as common as the green chili peppers achar.
Achar origins
Our achard began with achar. Achar, also known as Indian pickles, is a staple in Indian and Mauritian cuisines. Although many people think its origin is rooted in India, it is in fact from Persia, now Iran, and has been a part of their history for several thousand years. There, it was simply salted and cured. Preserved that way, it lasts a long time and could be transported as food for long journeys, sometimes weeks and months at a time.
The achar as you know it is from India where it has been given a bit of an exciting new identity back in the day. The modern achar is dressed with spices and its technique used to pickle all sorts of fruits and vegetables. India truly made it their own, and so much so that it is fair to say that it is more associated with India than Persia or Iran.
Its journey to Mauritius
Achar made it to Mauritius with Indian workers in mid-17th century, possibly from Calcutta (now Kolkotta), but most likely from Pondicherry (now Puducherry). Mauritius was called Isle de France then, which literally translates to “France’s Island”. Pondicherry, like Mauritius, was under French occupation at the time and the French were sending Indian workers to the island. Here, the Hindi word “achar” then transformed into “achard,” which was more French-sounding. As mentioned earlier, in Mauritian Créole, it is called “zasar.” On the blog, we will refer to Mauritian achar as “achard”, and the original achar remains “achar.”
The Indian achar is normally quite sour and very salty. Achard became a great accompaniment to the many Créole meals that were already prevalent on the island at the time. Back then, it underwent a few changes to make it more appealing to the French in Mauritius. So it transformed into something that was a lot lighter, the spices were subdued, and it evolved from being only a condiment to much more.
Common ingredients (+ additions and swaps)
Spices
Common spices found in achard are:
- Turmeric
- Mustard seeds
- Fenugreek seeds
- Dried red chili peppers
- Garlic
- Ginger
Vegetables or Fruits
Traditionally, the fruits or vegetables are partially dehydrated in the sun. This was done to retain their crisp and crunchy integrity, which is a sought-after texture in a proper achard. Nowadays, due to time constraints, people skip that step and even blanch the vegetables.
Achard closely resemble kutcha. In fact achard and kutcha are often used interchangeably although they are not technically one and the same. While they can both contain almost exactly the same ingredients, the techniques are slightly different.
Fruits: Almost any sour or acidic fruits, like green mangoes or June plum (fruit de cythère). Lemons or lime are also pretty common.
Veggies: You can use most firm-texture, low-sugar and low-moisture veggies you have on hand in this recipe. I highly recommend keeping the cabbage as this is the main ingredient in the recipe. Green beans (haricots verts) are a favorite and I often include it too. Other common ingredients are carrots and cauliflower.
Onion and ginger: I do not use onion in my version as I like my achard savory but it is very common to find it in achard. Roughly chop onions and add it to the hot oil prior to adding anything else. Cook them until translucent but still crunchy. Ginger is another common addition.
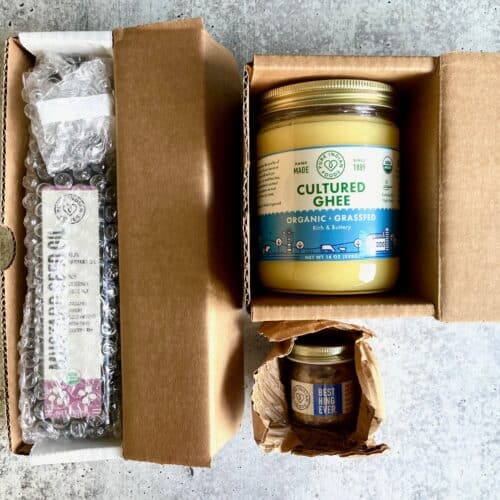
Oils: I like to use mustard oil as it imparts a unique flavor, but feel free to substitute vegetable oil for it. I do not recommend using olive oil because the oil needs to be neutral if not using mustard oil.
Heat level: You can increase or decrease the heat level by playing with the number and types of green chili peppers you decide to add. You can also omit them. I like to use green Thai chili peppers, also called birds eye chilis.
Reasons to love this recipe
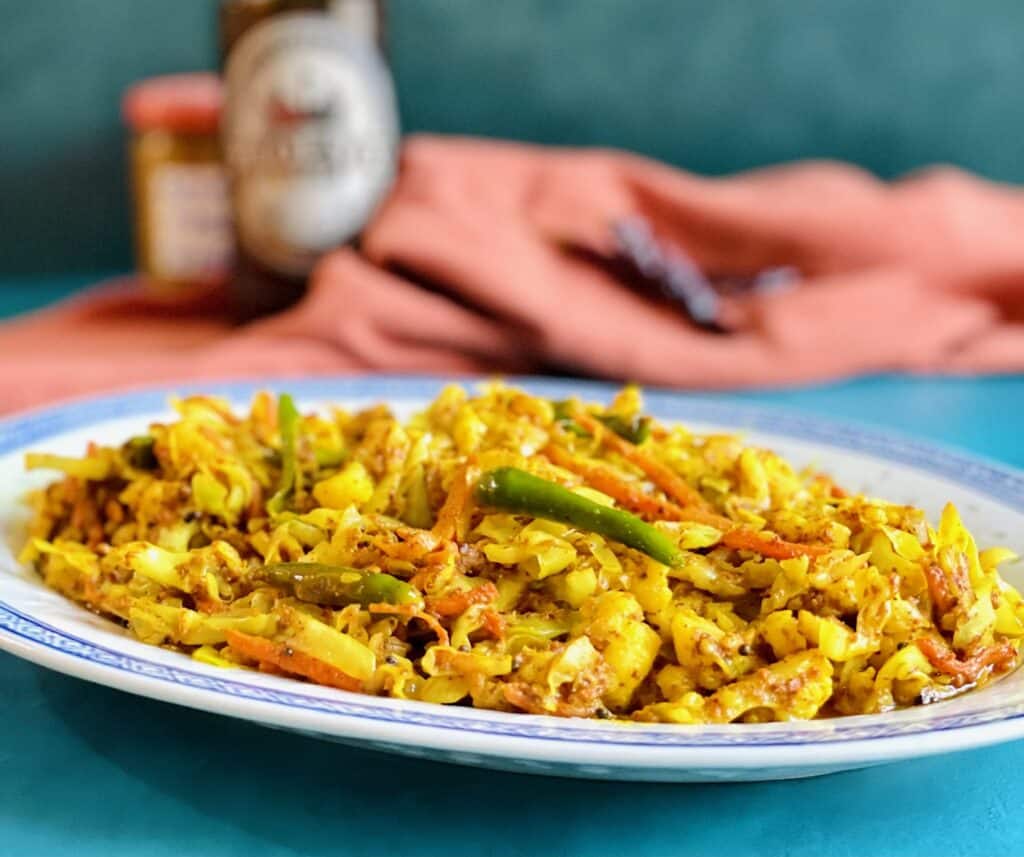
My Grandma’s achard: It is a take on my Grandma’s achard, which I think is the best I have ever tried. Maybe I think so because I grew up eating it but I believe her secret was to always use fresh achard masala paste and some mustard oil.
The use of achard masala paste: The paste used in this recipe is prepared using a mortar and pestle instead of a traditional roche cari but its inclusion still results in achard reminiscent of those made the traditional way. The store-bought achard spice mixes or using already-ground spices simple do not come close. It is worth the effort to grind your own paste.
Quick and easy: If you have the achard masala paste on hand, this dish will come together quickly especially because of the next point.
Two less steps with no boiling and no draining: This recipe shows you exactly how to skip the time-consuming step of boiling the water and blanching the vegetables. You will also skip the step of draining the vegetable post blanching them. If you follow my tips on how to effectively skip these two steps, you will be rewarded with a quick, slightly crunchy and satisfying achard that you can put together any night of the week.
Keeps for a long time: As this is technically a pickle, it will keep in the fridge for months, but it might not last that long unless you double the batch!
Tips and tricks on how to skip the boiling step
In order to skip the boiling and draining process, you need to:
- Shred the cabbage very finely (refer to Recipe Ingredients picture below)
- Cut the cauliflower very small, about 1 cm or 0.4 inches (refer to Recipe Ingredients picture below). Make sure each of them are about the same size.
- Cut the carrots evenly. I chose to cut them in julienne strips. Alternatively, you can shred them.
- Add the vegetables one at a time: Start with the ones that take the longest to cook first. This ensures that they cook evenly. Your goal is to cook the vegetables slightly so that they lose their raw taste but retain their crunch. Once the oil is hot enough, but not smoking, add the vegetables in the following order: cauliflower, carrots, cabbage, cook each about 30-60 seconds before adding the next one to the pan.
- Steam effect: In Part 1 of the recipe, you only cook the veggies until they are slightly cooked and have lost their raw taste. You do not need to cook them more at this stage because you will add the vegetable mixture back in the pan in Part 2 and therefore cook them further at that stage. You can add a cover/lid on the pan after you add the white vinegar and lemon juice to create steam inside the pan and cook the veggies further if you prefer them to be softer.
Recipe ingredients
You’ll need the following ingredients to make this Vegetable Achard.
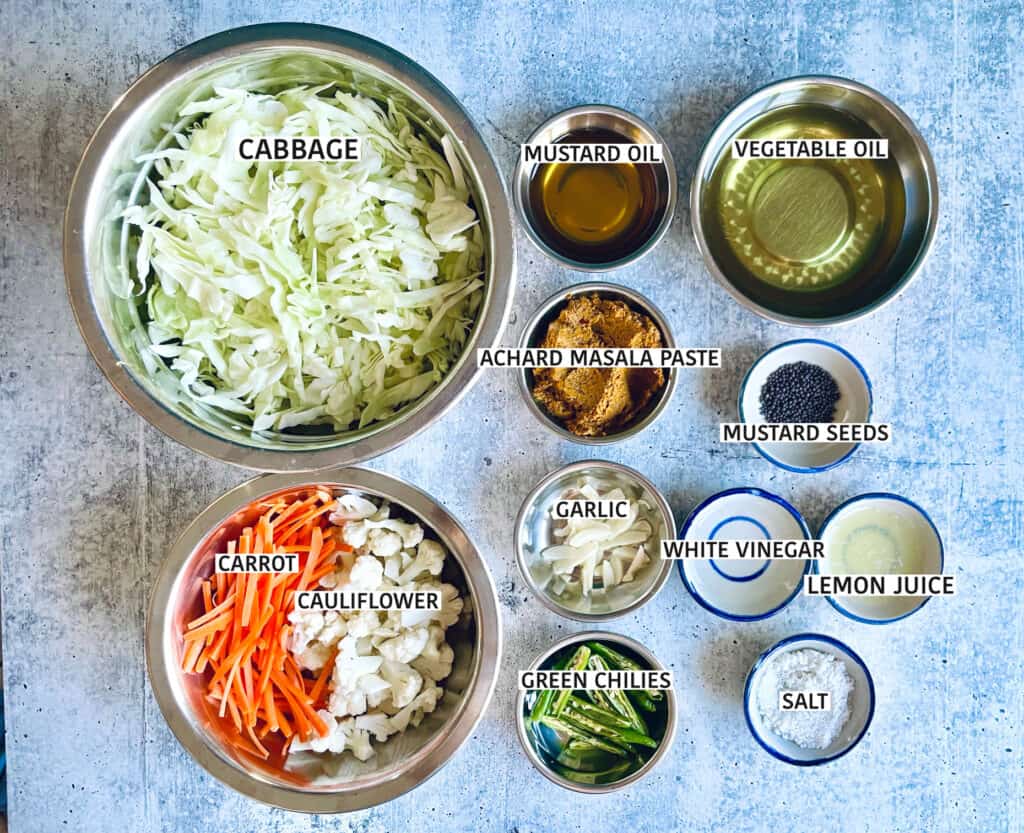
To make this Green Chili Achard recipe, please refer to the Achard Masala Paste Recipe first.
Storage
Fridge: Wait for the vegetable achard to completely cool down before transferring it to a jar. This prevents condensation and thus extends the life of the achard. Add some additional white vinegar and top it with oil if you want to extend it even further.
Frequently Asked Questions
You will need a mortar and pestle and a high-powered blender, like Vitamix or Ninja, to make the achard masala paste used in this recipe but this recipe itself does not need any special equipment if you already have the paste ready.
You should have almost everything on hand.
This recipe is medium spicy as it calls for Thai chili peppers. To make a milder version, use jalapenos or the long and slender Indian chili peppers. I have tried it with both with great results. You can also omit the green chili peppers altogether.
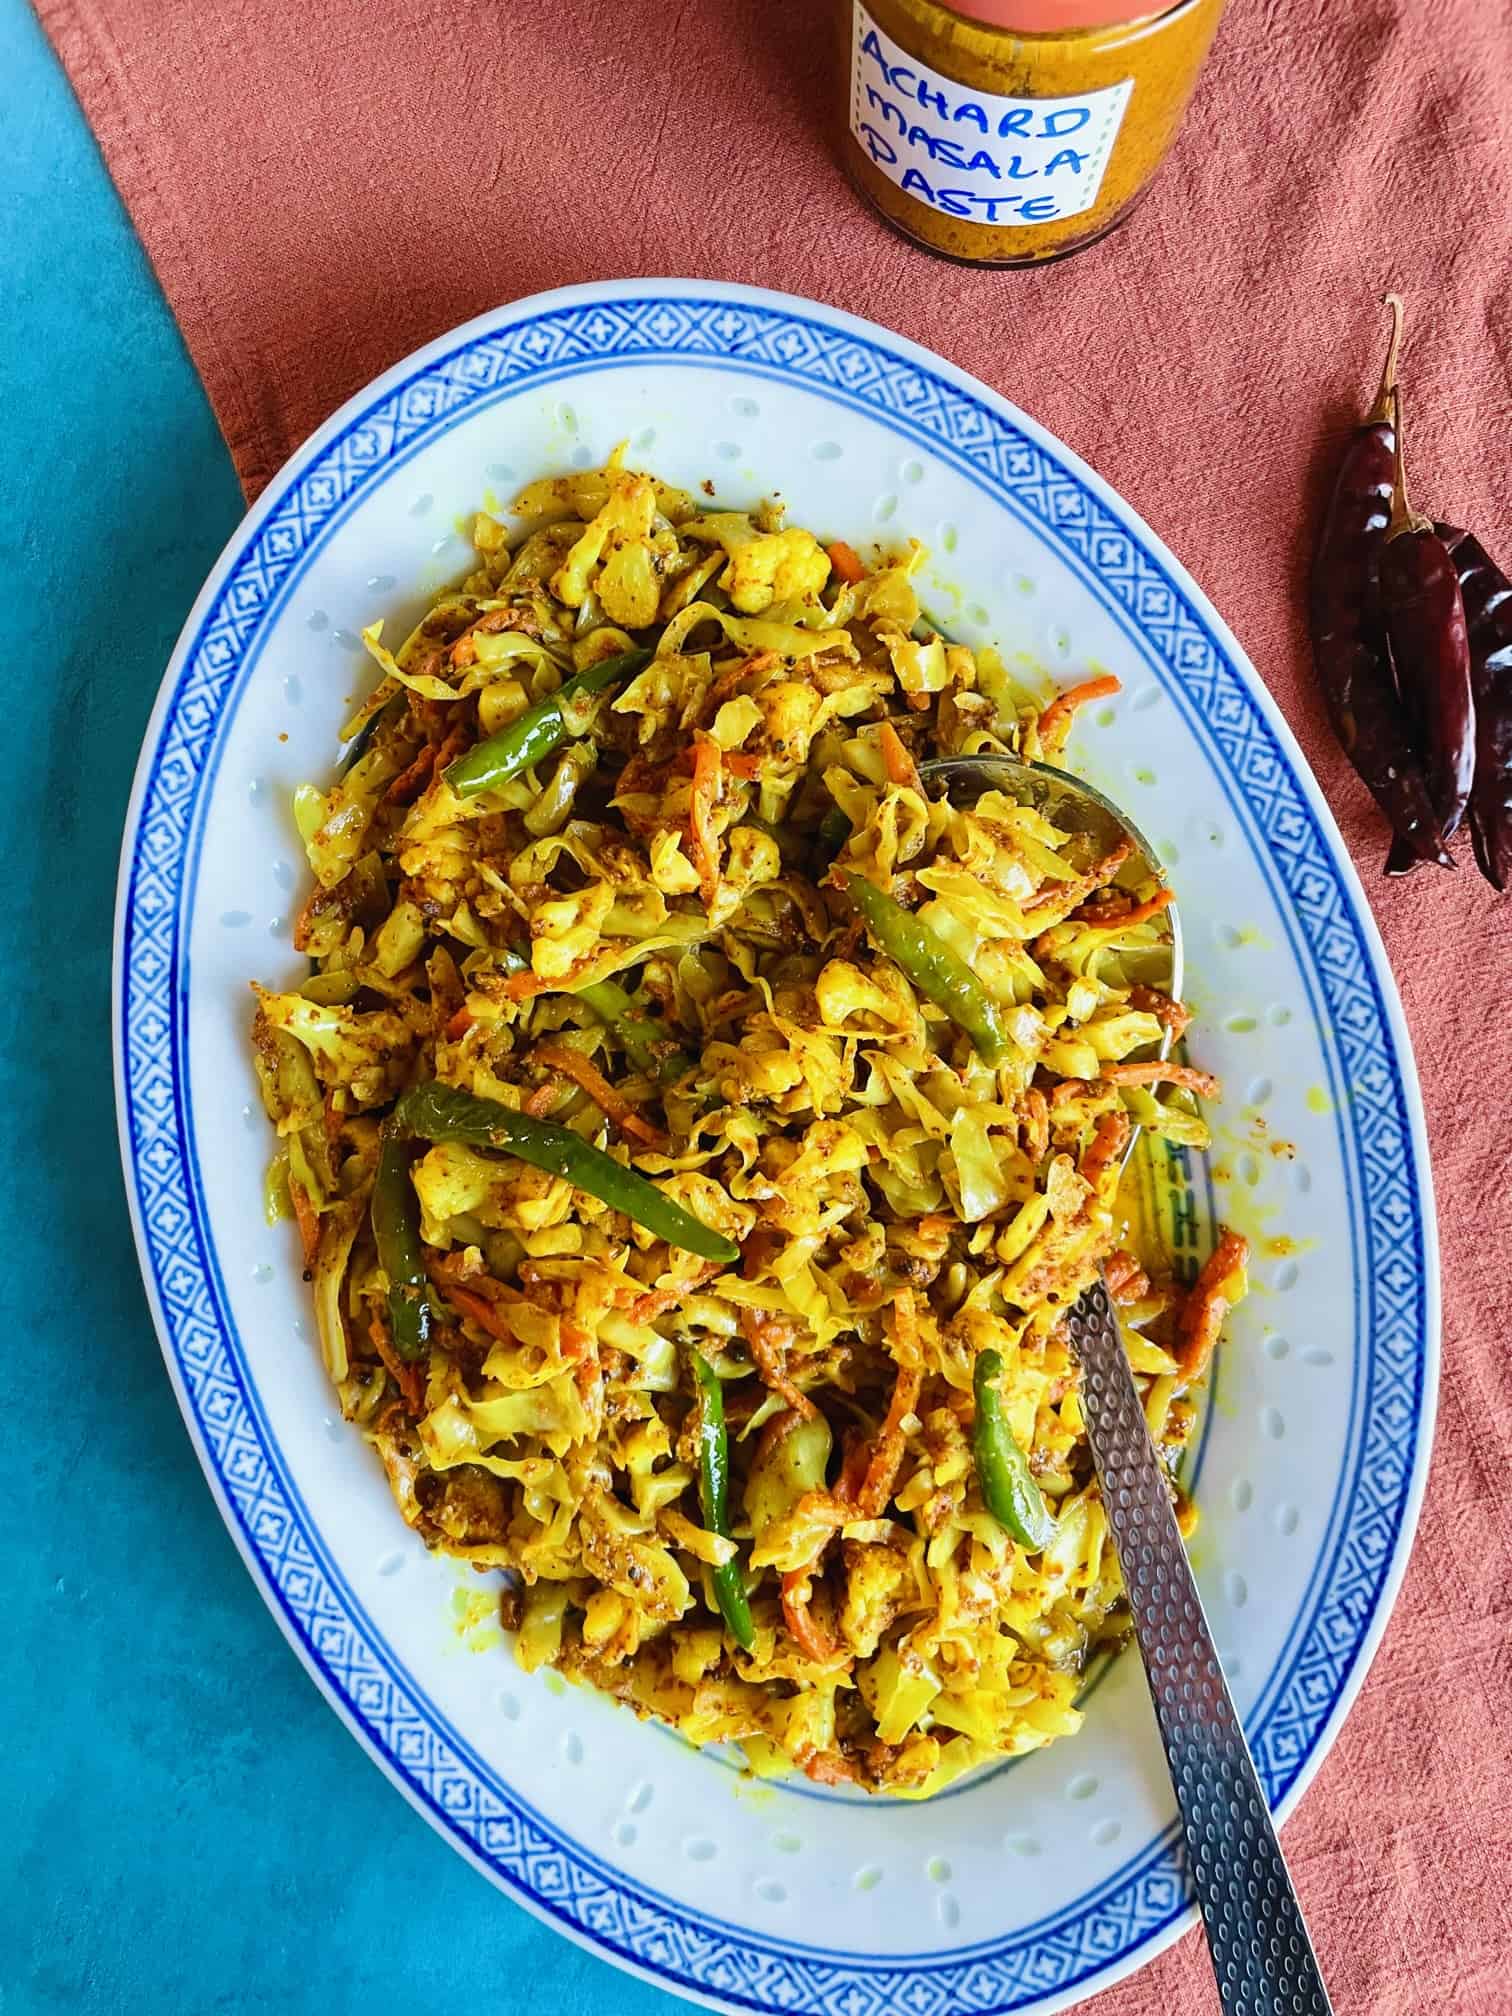
Best Ever Vegetable Achard (No Boiling Required)
Ingredients
- 5 tablespoons vegetable oil divided, I used avocado oil
- 4 cups cabbage finely shredded, 250 g, 8.8 oz
- 1 cup cauliflower cut into small 1 cm pieces, about ¼ of a small cauliflower, 100 g, 3.5 oz
- ½ cup carrots julienned, about 1 small carrot, 45 g, 1.5 oz
- 1 teaspoon mustard seeds brown or black
- 3 tablespoons achard masala paste
- 2-3 tablespoons water
- 3-5 cloves garlic thinly sliced or minced
- 6-10 green chili peppers cut lengthwise, 10 g, 0.33 oz
- 1 tablespoon white vinegar
- 1 tablespoon lemon juice or use extra white vinegar instead
- 1 tablespoon mustard oil
- 2 teaspoons salt or to taste
Instructions
PART 1
- Heat oil. Heat 3 tablespoons (3 of the 5) of vegetable oil in a large cast iron or stainless steel pan on medium to hit heat.
- Cook vegetables. Add the vegetables one at a time starting with the ones that take the longest to cook first. Your goal is to cook the vegetables slightly so that they lose their raw taste but retain their crunch. Once the oil is hot enough, but not smoking, add the vegetables in the following order: cauliflower, carrots, cabbage, cook each about 30-60 seconds before adding the next one to the pan. This should take about 5 minutes. Make sure to not let the vegetable burn or turn brown). Once the vegetables are slightly cooked and have lost their raw taste, set the vegetable mixture aside. You will have leftover oil in the pan.
- Mix the achard masala paste with 2-3 tablespoons of water. Whisk until smooth. The addition of water is important. It ensures that the spices do not burn and turn bitter when you cook it. Set this masala paste mixture aside.
PART 2
- Cook the achard masala paste. Add the 2 tablespoons of the remaining vegetable oil to the leftover oil in the pan, along with the mustard oil. Be careful as the oil and masala might splatter a little with the next step. Be prepared to cover the pan slightly so that masala does not splatter too much. Once the oil is hot enough, but not smoking, add the mustard seeds and cook for 30 seconds. Don't overcook them as it will turn the mustard seeds bitter.Next, gently add the masala paste mixture to the pan. Cook until the water evaporates and the masala becomes fragrant, about 2-4 minutes. Scrape off the spices from the bottom of the pan if they seem to be sticking to it.
- Add garlic and green chili peppers. Add the garlic and green chili peppers, and cook until the chili peppers are just cooked, about 1-2 minutes.
- Add the rest of the ingredients. Add the white vinegar, lemon juice and salt to the pan mix everything evenly. Make sure your spices do not stick to the pan. Scrape off the spices from the bottom of the pan if they seem to be sticking to it. Cook until the liquid has evaporated a bit. Refer to the Recipe Notes section below if you prefer your vegetables on the softer side.
- Add vegetable mixture and taste test. After you add these, make sure all the ingredients in the achard mix evenly. Taste it and see if the white vinegar, lemon juice or salt need to be adjusted.
- Enjoy immediately with a French baguette. If you are keeping it for later, wait for the vegetable achard to completely cool down before transferring it to a jar. This prevents condensation and thus extends the life of the achard. It keeps for weeks in the fridge. Add some additional white vinegar and top it with oil if you to extend it even further.
Notes
Sharing is caring
If you like enjoyed this list, please share it with your family and friends. I am also on Facebook, please follow my recipe updates there.




Hi Elliette
I kinda like your recipe. You missed one common ingredient: haricot vert!
But it’s good you don’t use it as you are not blanching your vegetables!
Green beans can not be eaten raw because it contains lectins and needs to be cooked to render it harmless.
Otherwise it’s all good!
Another thought!
Some zasar lichou becomes soggy. yeah!
When it becomes soggy, it becomes probiotic, like saurkraut!
Haricot vert is optional, and I didn’t include it to keep it simple for most people. I do like achard with green beans, though. Some people also like to add lemon peel.